Upgraded a Windows 10 VM to Windows 11 using VMware Workstation 15 Pro.
I have upgraded Windows 10 Pro of a virtual machine (VM) to 11, so the procedure is described below. I am using VMware Workstation 15.5.7 Pro (VMware). The latest version at the moment is 16.2.0, so it is the previous major version.
Creating an ISO image for installation
The procedure is as follows.
- Download the tool for creating an ISO image (Create Windows 11 Installation Media) from the Micorsoft site.
- Execute the downloaded
MediaCreationToolW11.exe. - Applicable notices and license terms will be displayed, so click
[Accept]. - The Language / Edtion selection will be displayed, so click
[Next]. - Select
ISO fileand click[Next]. - Specify the file name (eg Windows 11.iso) and save location and click
[Save].
Pre-installation work
The system requirements for upgrading to Windows 11 are as follows (Microsoft): * Processor: 1 GHz, 2 cores and 64-bit * Memory: 4 GB * Firmware: UEFI and secure boot support * Graphics card: DirectX 12 (WDDM 2.0) * TPM 2.0
Configure your Windows 10 VM to meet the above requirements.
Firmware: UEFI
To confirm if the firmware type is UEFI, confirm the [VM] - [Settings...] menu item ⏵ [Options] tab - [Advanced] - [Firmware type].
If this is [BIOS], you need to change it to [UEFI], but before that, boot Windows 10 and check the boot disk partition type.
If the partition type is [MBR], you need to change it to [GPT]. If you do not convert it, Windows will fail to start after changing to UEFI.

How to confirm the boot disk partition type
Desktop or Explorer [This PC / Context Menu] - [Manage] ⏵ [Storage / Disk Management]
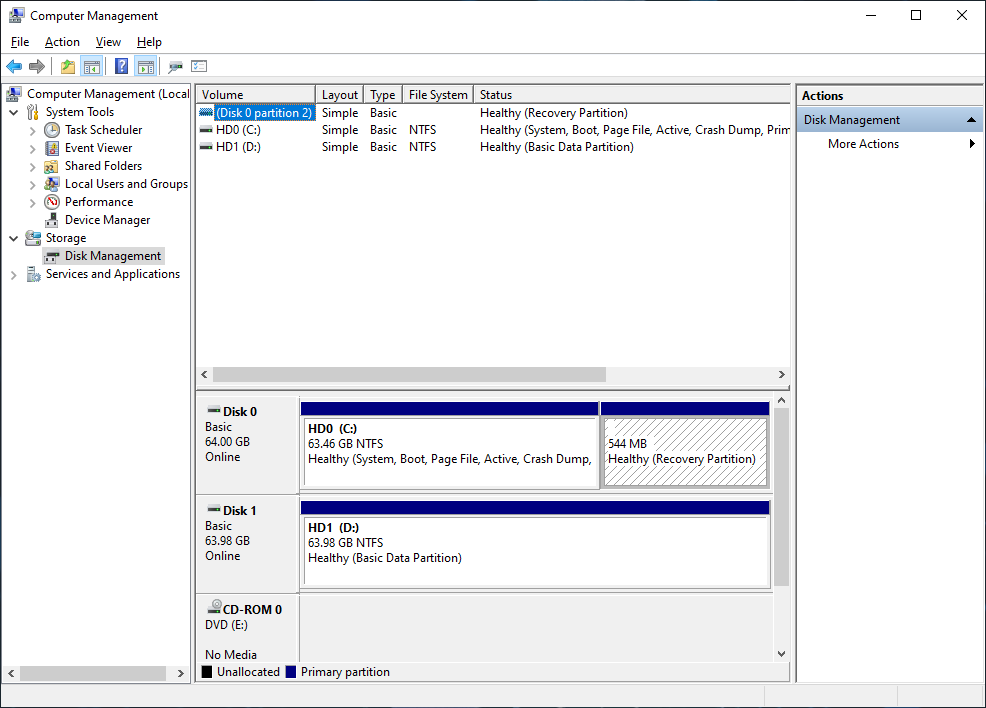
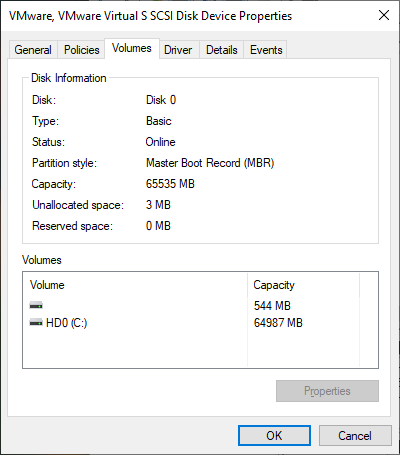
[Disk0 / Context Menu] - [Properties] ⏵ [Volumes] tab (Partition type is MBR below)
To change the partition type of the boot disk to [GPT], start a command prompt as Administrator and do the following:
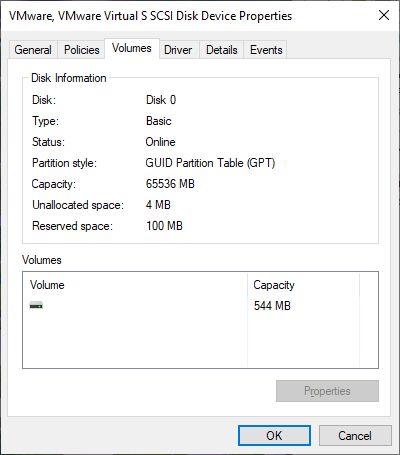
C:\WINDOWS\system32>MBR2GPT /convert /allowFullOS

MBR2GPT will now attempt to convert the default book disk.
If conversion is successful the disk can only be booted in GPT mode.
These changes cannot be undone!

MBR2GPT: Attempting to convert disk 0
MBR2GPT: Retrieving layout of disk
MBR2GPT: Validating layout, disk sector size is: 512 bytes
MBR2GPT: Trying to shrink the OS partition
MBR2GPT: Creating the EFI system partition
MBR2GPT: Installing the new boot files
MBR2GPT: Performing the layout conversion
MBR2GPT: Migrating default boot entry
MBR2GPT: Adding recovery boot entry
MBR2GPT: Fixing drive letter mapping
MBR2GPT: Conversion completed successfully
Call WinReReapir to repair WinRE
MBR2GPT: Failed to update ReAgent.xml, please try to  manually disable and enable WinRE.
MBR2GPT: Before the new system can boot properly you need to switch the firmware to boot to UEFI mode!
Although it says Failed to update ReAgent.xml, the partition type conversion is successful.
After this, shut down Widnows and change [Firmware type] to [UEFI] in [VM] - [Settings...] menu item.
You do not need to check [Secure boot].
TPM 2.0
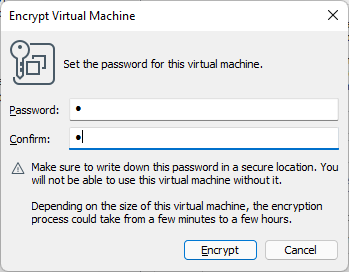
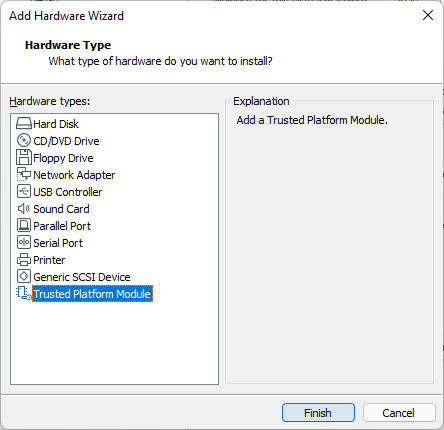
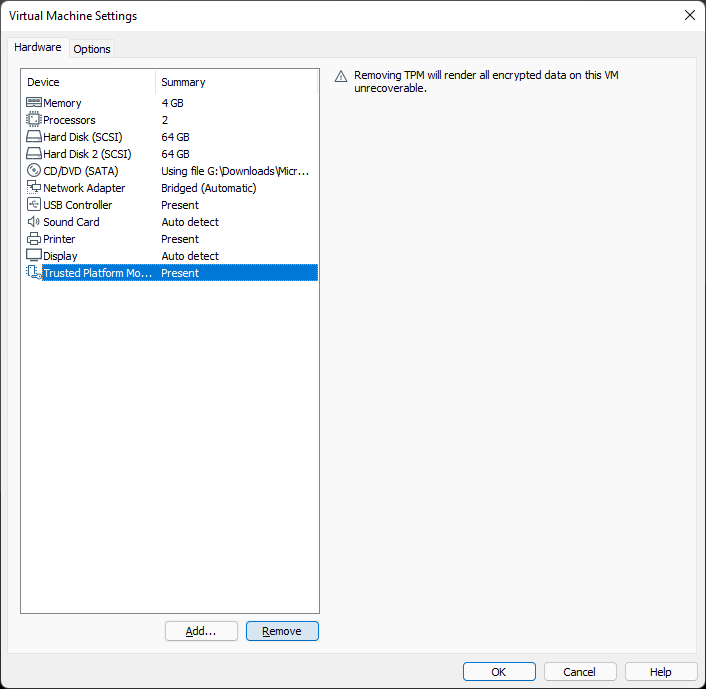
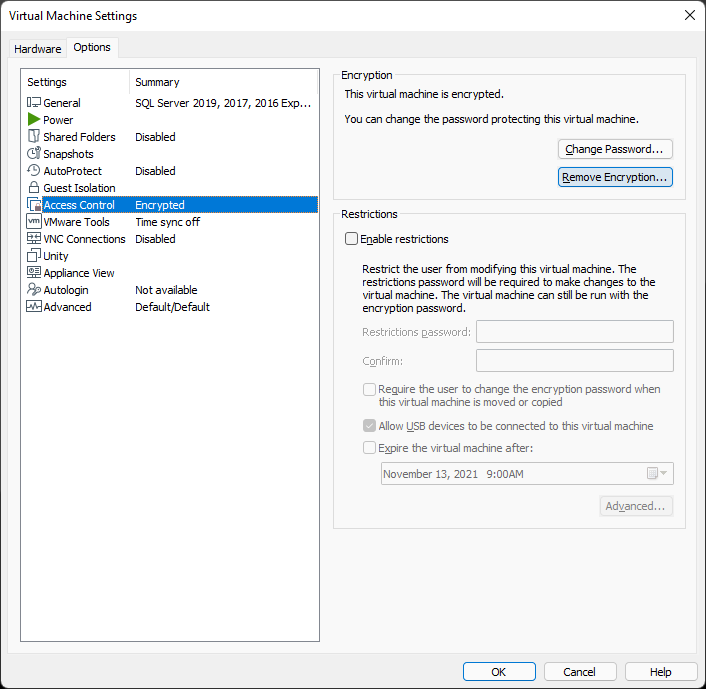
To support TPM 2.0, click [Add...] on the [Hardware] tab of [VM] - [Settings...] menu item and add [Trusted Platform Module], but before that, you need to encrypt the VM. Click [Access Control] - [Encrypt ...], enter the password, and click [Encrypt].
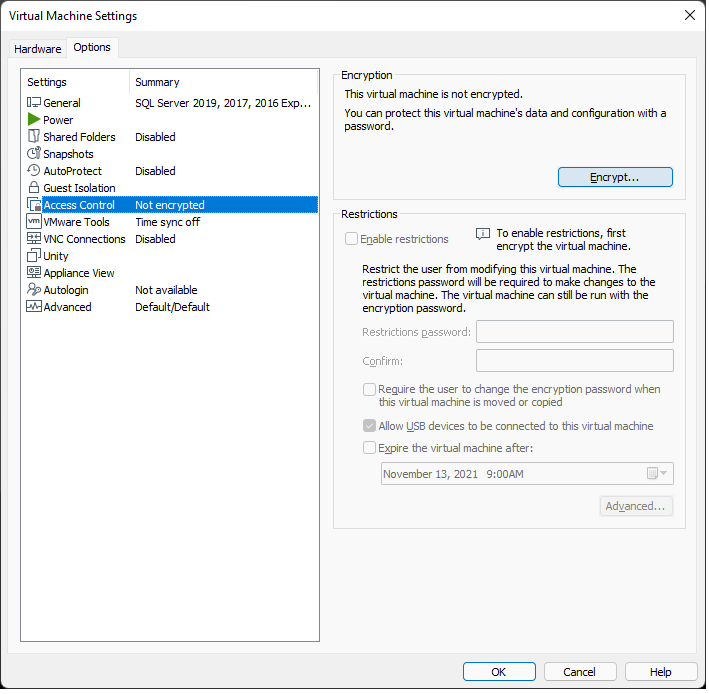
After encryption, add [Trusted Platform Module].
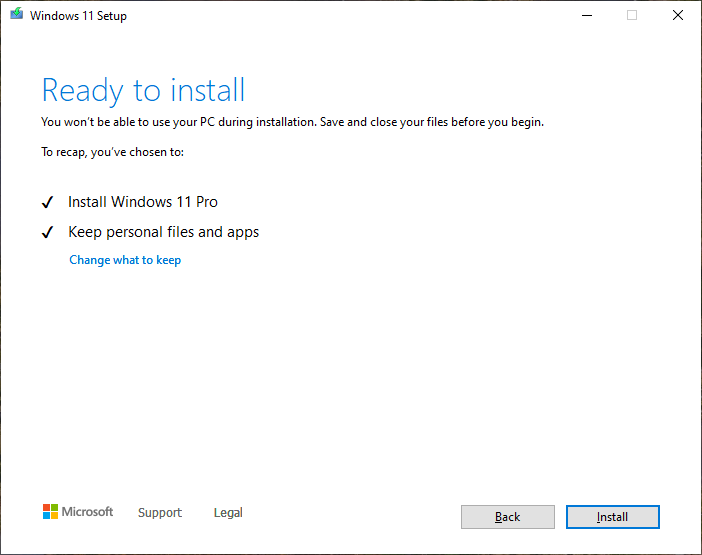
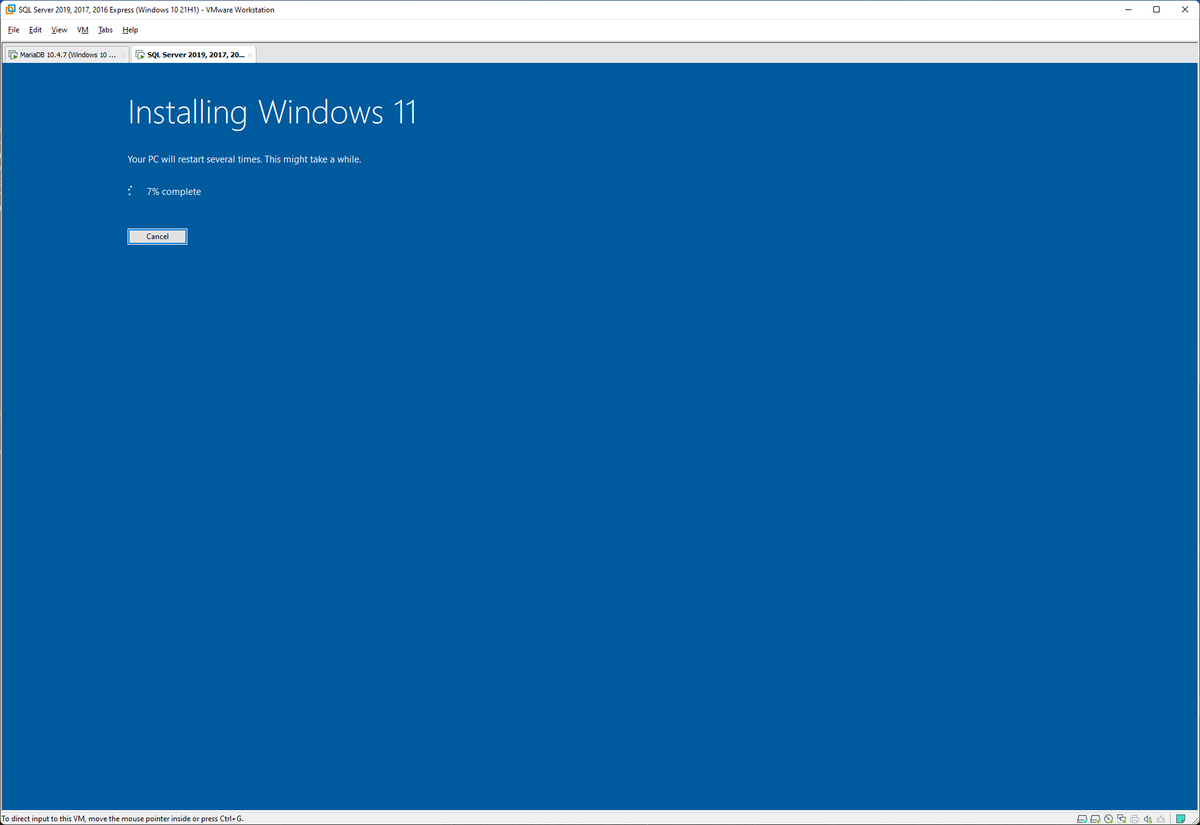
Windows 11 installation
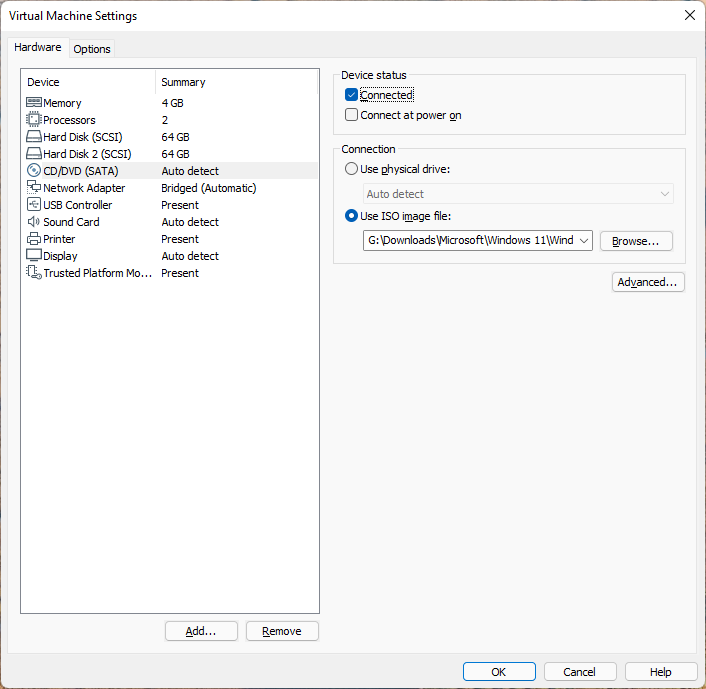
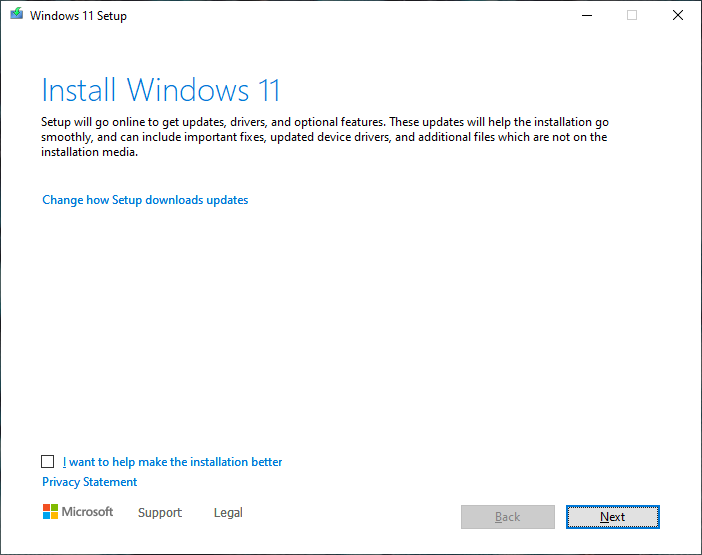
Assign Windows 11.iso to the CD/DVD, start Windows 10, and run setup.exe on the DVD Drive to start the installation of Windows 11.


Post-installation work
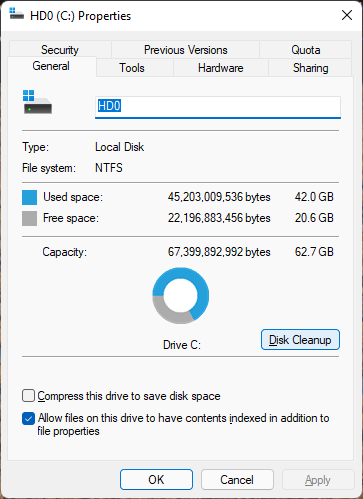
Minimize disk size
When you install Windows 11, the previous Windows 10 will be saved to C:\Windows.old. If you do not restore to Windows 10, it is unnecessary, so delete it according to the following procedure.
In Explorer, select [Properties] from the C-drive context menu and click [Disk Cleanup].
Click [Clean up system files].
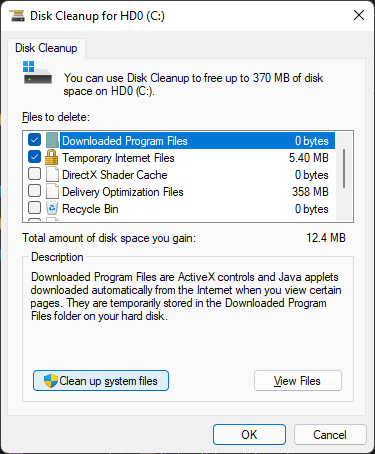
Check all and click [OK].

Then shut down Widnows 11 and click [VM] - [Settings...] menu item ⏵ [Hard Disk] - [Defragmentation].
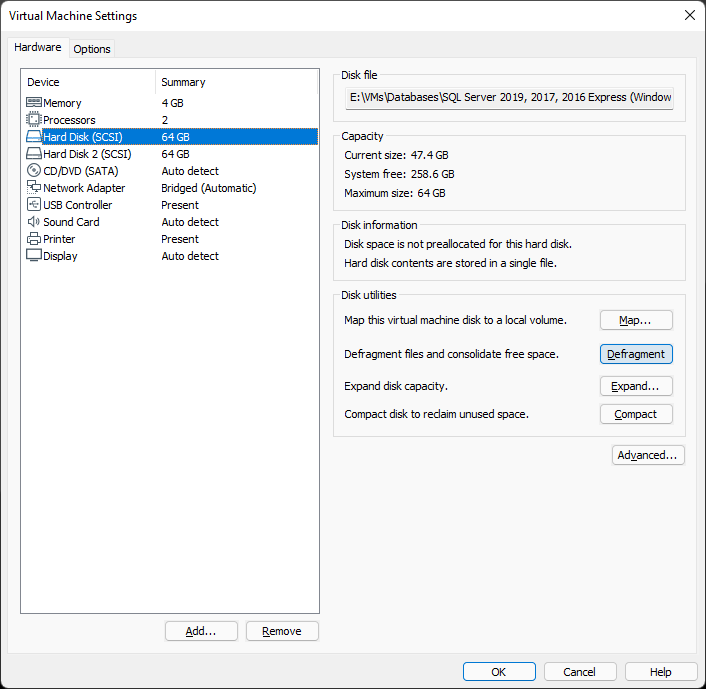
Click [Compact].
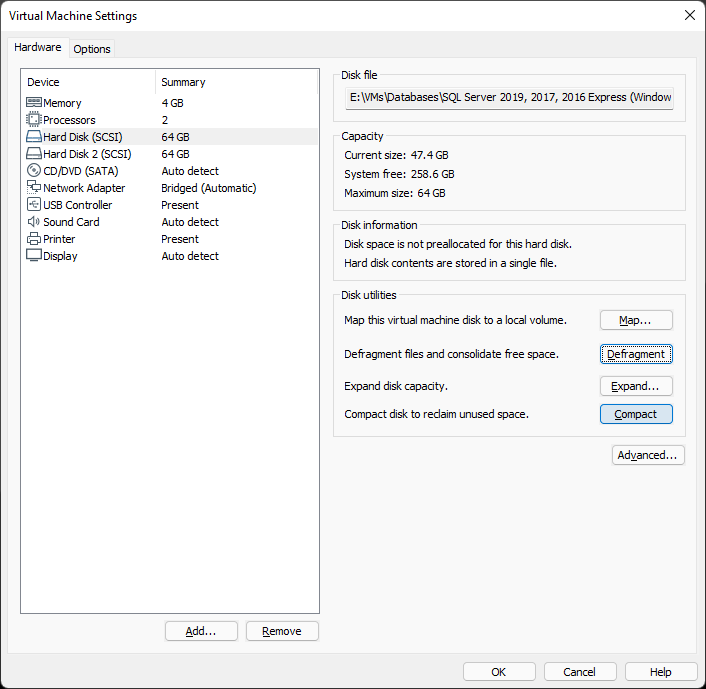
This will reduce the size of the vmdk file allocated to the boot disk.
TPM hardware removal and decryption
After installing Windows 11, you don't need the TPM, so remove it. Then decrypt it. If you don't want to enter the password every time you open the VM in VMware, you can leave it as it is.
That's all.